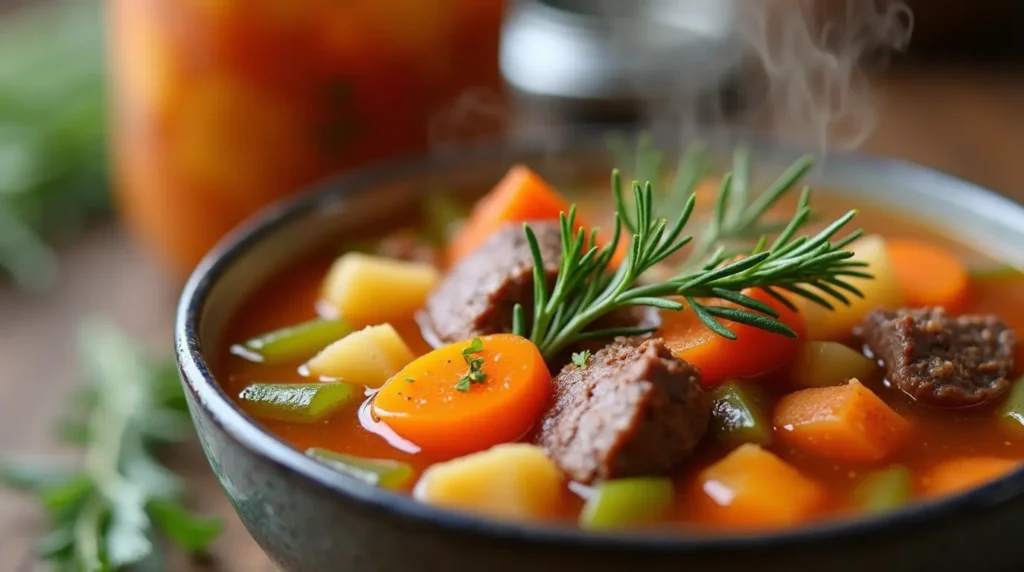
Think of a warm, comforting meal, and vegetable beef soup recipe for canning comes to mind. It’s made easy with a pressure canner. You can enjoy it all year, adding your favorite seasonings like salt and pepper. It’s great for stocking your pantry with homemade items, including dried beans and veggies.
Table of Contents
This soup recipe is not just tasty but also budget-friendly. You get to choose what goes into it, controlling the sodium. It’s perfect for those with special dietary needs. Canning your soup means always having healthy, homemade meals ready to go.
Key Takeaways
- Vegetable beef soup recipe for canning is easy to make and delicious
- Using a pressure canner allows for year-round enjoyment of homemade soup
- Customize the recipe to your taste with ingredients like salt and pepper
- Canning your own soup is cost-effective and allows for control over ingredients
- Perfect for those with dietary restrictions or looking for healthy meal options
- Great way to stock your pantry with homemade goodness, including dried beans
- Vegetable beef soup recipe for canning is a great addition to any meal
Benefits of Canning Your Own Vegetable Beef Soup
Canning your own vegetable beef soup recipe for canning can save you money and ensure healthy meals. It lets you enjoy homemade soup all year, without relying on store-bought versions. You get to control the ingredients and sodium, which is great for those with dietary needs.
Choosing fresh ingredients and avoiding preservatives makes your soup taste better and healthier. Canning your soup also saves money since you can buy ingredients in bulk. This way, you can make more meals for less cost.
Cost-Effective Meal Preparation
Canning vegetable soup is a smart way to save on meals. It lets you buy ingredients in bulk and use them later. This approach can cut down your grocery bills and reduce food waste. Plus, it’s a budget-friendly way to enjoy homemade soup.
Year-Round Access to Homemade Soup
Canning your own vegetable beef soup means you can have homemade soup anytime. You don’t need to worry about refrigeration or freezing. It’s perfect for any season, offering a healthy and convenient option.
Control Over Ingredients and Sodium Content
One big plus of canning your own soup is the control over ingredients and sodium. You can pick the freshest ingredients and control the sodium. This makes your soup healthier and tastier, especially for those with dietary needs.
Learning to can your own vegetable beef soup recipe for canning offers many benefits. It’s a cost-effective way to prepare meals, gives you access to homemade soup all year, and lets you control what goes into your food. It’s a great way to improve your health and wellbeing.
Essential Equipment for Home Canning
To start canning soup recipes, you need the right tools. This includes a pressure canner, canning jars, and a canning funnel. Investing in quality equipment makes sure your canning is safe and successful. A pressure canner is key because it heats food to kill bacteria and prevent spoilage.
Here are some essential equipment you’ll need for home canning:
- Pressure canner
- Canning jars
- Canning funnel
- Lid lifter
- Jar lifter
These tools help you prepare and process your canning soup recipes safely and efficiently. Always follow the manufacturer’s instructions for each piece of equipment to use them correctly.

Having the right equipment is just the first step for canning soup recipes. You also need to follow safe canning practices. This includes using the right amount of acid, like lemon juice or vinegar, to prevent bacteria growth.
| Equipment | Description |
|---|---|
| Pressure Canner | A large pot that allows you to achieve high temperatures and pressures to kill off bacteria and other microorganisms. |
| Canning Jars | Glass jars that are specifically designed for canning, with a lid and band to create a vacuum seal. |
| Canning Funnel | A tool that helps you to fill your canning jars with hot food, without spilling or making a mess. |
By investing in the right equipment and following safe canning practices, you’ll be able to enjoy your favorite canning soup recipes all year round.
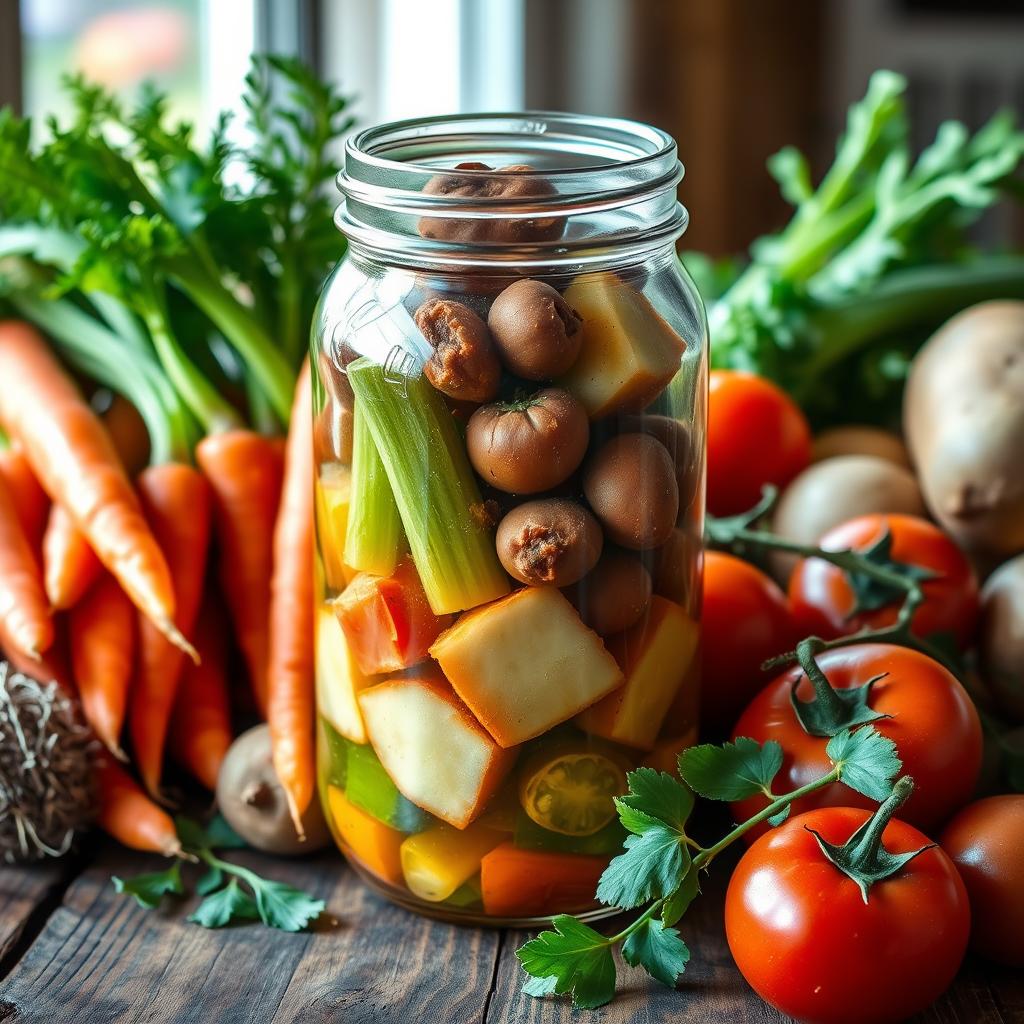
Ingredients for Classic Vegetable Beef Soup Recipe for Canning
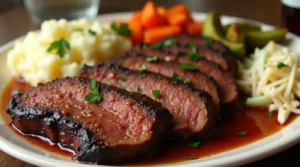
To make a tasty vegetable soup for canning, you need the right ingredients. Opt for fresh, premium ingredients to ensure the best taste. Use beef bones, beef broth, and diced beef for the meat and broth.
For the vegetables, pick a mix of carrots, potatoes, onions, and celery. These add depth and nutrition to your soup.
Seasoning is key. Incorporate salt, pepper, and herbs such as thyme and rosemary. Adjust the amounts to your liking. Here’s a list of ingredients for your vegetable soup:
- 1 pound beef bones
- 4 cups beef broth
- 1 cup diced beef
- 2 medium carrots, chopped
- 2 medium potatoes, chopped
- 1 large onion, chopped
- 2 stalks celery, chopped
- 1 teaspoon salt
- 1/2 teaspoon black pepper
- 1/4 teaspoon dried thyme
- 1/4 teaspoon dried rosemary
Always pick the freshest ingredients for the best taste and texture. Feel free to adjust the recipe to your liking by adding or removing ingredients.
By using this recipe and quality ingredients, you can make a delicious vegetable soup for canning. Your family will love it. Remember to follow safe canning practices to ensure your soup is properly sterilized and sealed.
Preparing Your Canning Space and Safety Measures
Before you start vegetable soup canning, make sure your space is ready. Clean and sanitize all your tools, like jars, lids, and utensils. This step is key to avoid contamination.
A clean workspace is vital for safe vegetable soup canning. Always wash your hands before touching anything. Use a sanitized solution to clean all surfaces and tools to stop bacteria.
- Use a pressure canner to heat your soup safely and kill bacteria.
- Stick to a tested recipe for the right acidity and heat balance.
- Leave the right amount of headspace in jars for expansion during processing.
By preparing your space and following safe canning practices, you can enjoy your homemade vegetable soup canning all year. You’ll know your soup is safe and of high quality.
Step-by-Step Soup Preparation Method
To start making your vegetable beef soup, you need to begin with the basics. Learning how to can soup is key to making a tasty, shelf-stable product. It’s important to use a proven recipe and the right techniques for the best flavor and texture.
First, prepare the beef and broth base. Brown the beef in a large pot, then add broth and bring to a boil. You can use store-bought broth or make your own with beef bones in water. Once your broth is ready, add your vegetables.
Preparing the Beef and Broth Base
This step is crucial for a rich, flavorful soup. Brown the beef well to enhance its natural flavors. Adding aromatics like onions and garlic can also boost the broth’s taste.
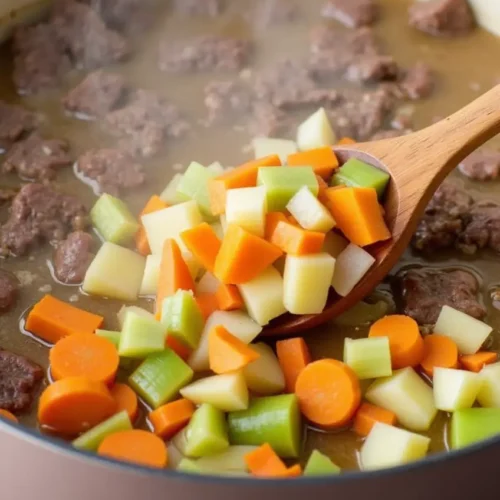
Vegetable Cutting Techniques
When adding vegetables, use the right cutting techniques. Cut them into evenly sized pieces to ensure consistent cooking. This ensures your soup has a consistent texture.
For cutting, use a sharp knife and cutting board on a stable surface. A food processor can also help chop vegetables quickly and easily.
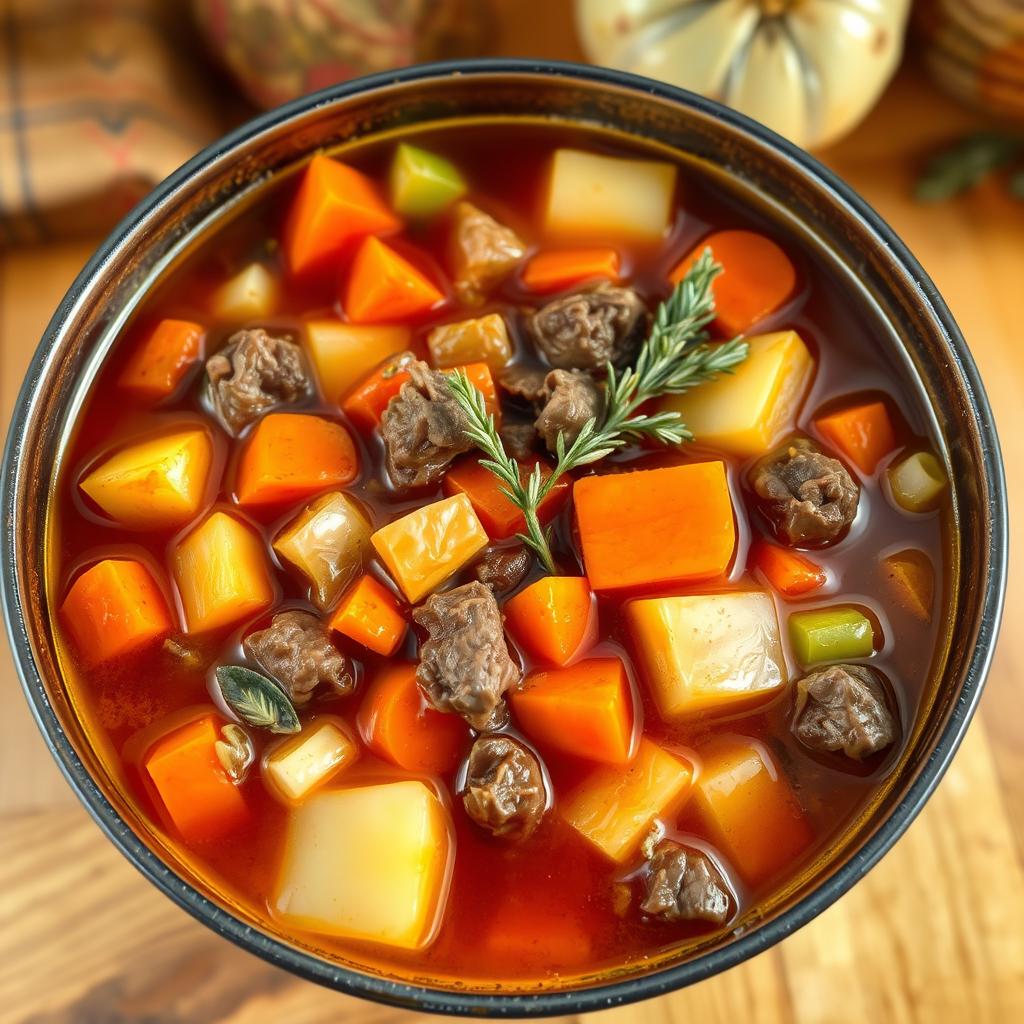
Combining Ingredients
After preparing the beef and broth base, and chopping vegetables, combine them. Add the vegetables to the pot and bring to a boil. Afterward, reduce the heat and cook the vegetables at a simmer until they are tender.
By following these steps, you’ll make a delicious, nutritious vegetable beef soup for canning. Always follow safe canning practices to ensure your soup is shelf-stable and safe to eat.
Understanding Pressure Canning Requirements
Canning soup, like vegetable soup, needs careful attention to safety and quality. You must consider altitude and processing times to avoid spoilage and illness.
Pressure canning is a precise process that demands focus. Pressure settings by altitude are key to killing bacteria and preventing spoilage. The higher the altitude, the more pressure is needed.
Pressure Settings by Altitude
- Up to 1,000 feet: 10 pounds of pressure
- 1,001-2,000 feet: 15 pounds of pressure
- 2,001-3,000 feet: 20 pounds of pressure
Processing times and safety checks are also crucial. Your canned goods must be processed long enough to kill bacteria. This is especially true for vegetable soup, which can spoil easily.
Processing Times and Safety Checks
Always use a tested canning recipe and check the USDA’s Complete Guide to Home Canning. By following these steps, you can enjoy your homemade soup safely.
The Complete Canning Process
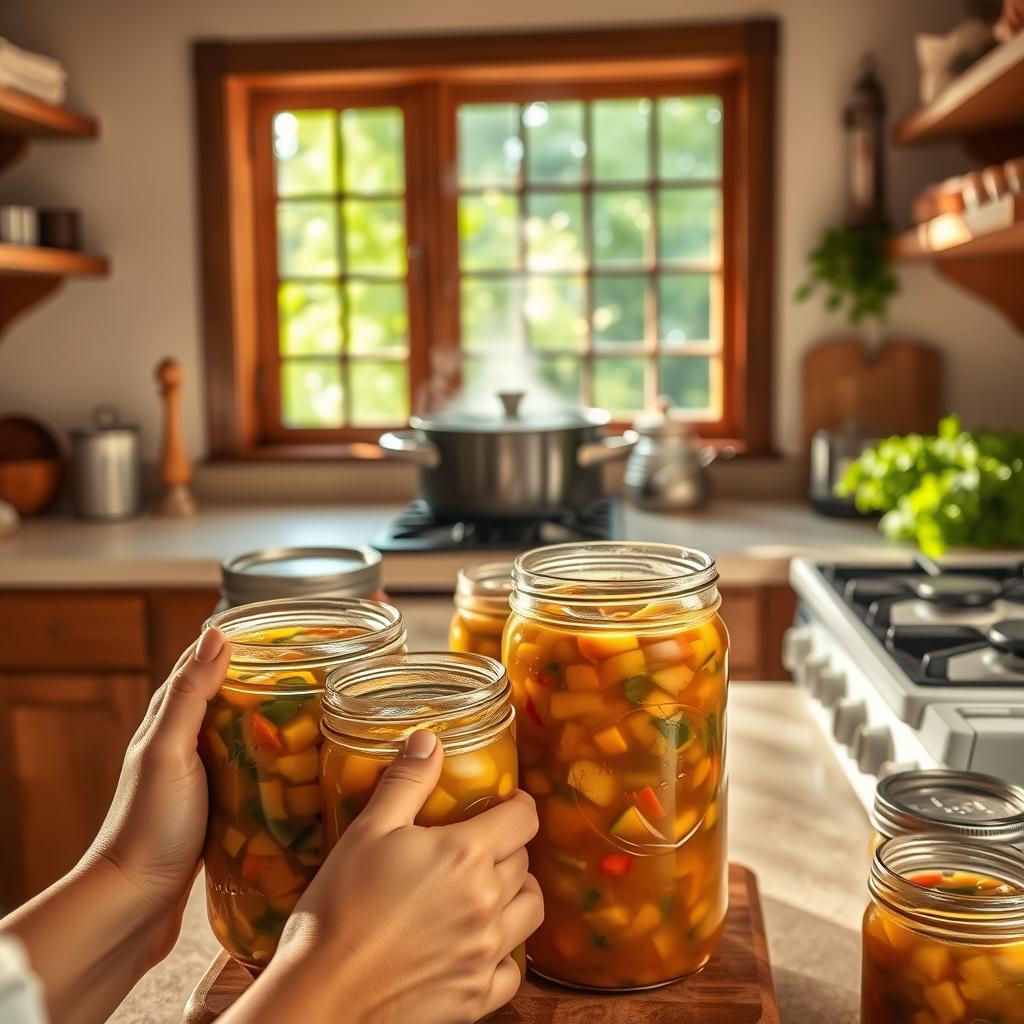
When canning vegetable soup, it’s key to follow each step carefully. This ensures the soup tastes great and stays fresh. Begin by mixing all your ingredients and heating them until boiling.
Then, pour the hot soup into jars, leaving about 1 inch of space at the top. Make sure to remove any air bubbles. Next, put on the lids and rings. Finally, use a pressure canner to sterilize and seal the jars.
Here’s a quick guide to canning:
- Prepare the soup and fill the jars
- Process the jars in a pressure canner
- Let the jars cool and check the seals
For more details on how to can soup, check out the USDA’s Complete Guide to Home Canning. It offers detailed steps and tips for canning different foods, including soups.
By sticking to these steps and guidelines, you can enjoy your homemade vegetable soup canning all year. Always remember to can safely to keep your soup tasting its best.
| Step | Description |
|---|---|
| 1 | Prepare the soup and fill the jars |
| 2 | Process the jars in a pressure canner |
| 3 | Let the jars cool and check the seals |
Proper Jar Storage Guidelines
After canning vegetable soup, it’s key to store the jars right. This keeps the soup’s quality and safety. You should keep the jars in a cool, dark spot to preserve the flavor and texture.
This is crucial for vegetable soup for canning. It’s sensitive to temperature and light. Storing jars in a cool, dark place helps prevent spoilage. This way, your soup stays fresh longer.
Temperature and Environment Considerations
When storing jars of canned vegetable soup, keep these points in mind:
- Avoid direct sunlight, as it can cause the soup to degrade
- Store the jars away from heat sources like ovens or radiators.
- Store the jars in a dry, cool place, such as a pantry or cupboard
Shelf Life Information
Canned vegetable soup can last up to 5 years. This applies when the jars are properly sealed and stored in the right conditions. Always check the jars for signs of spoilage, like swelling or leakage.
By following these guidelines, you can enjoy your homemade canned vegetable soup for a longer time. And it will stay safe to eat.
Troubleshooting Common Canning Issues
Learning to can soup can be fun and rewarding. But, it’s important to know about common problems. Seal failures are a big issue. They can happen if the lid isn’t placed right, if there’s not enough space in the jar, or if there’s dirt on the rim.
To fix seal failures, first check the lid and rim for damage or dirt. Make sure the lid fits right and is tight. Also, check that there’s enough space in the jar. If problems keep happening, you might need to re-can the jar or get help from a trusted source.
Seal Failures and Solutions
- Check the jar’s lid and rim for damage or debris
- Ensure proper lid alignment and tightening
- Verify adequate headspace
Safety Indicators
When canning soup, watch for safety signs. Pay attention for a “pop” sound from the lid as it cools, or check for a vacuum seal. If you see signs of spoilage like bad smells or mold, throw the jar away. Next, seek guidance from a reliable source on the proper methods for safely canning soup.
By following safe canning practices and watching for problems, you can enjoy your homemade soup. Always check a trusted guide or website for help on canning soup and solving common issues.
| Issue | Solution |
|---|---|
| Seal failure | Re-process the jar or consult a trusted resource |
| Spoilage | Discard the jar and consult a trusted resource |
Using Your Canned Soup
Now that you’ve canned your vegetable soup, it’s time to enjoy it. You can use it for a quick lunch or a cozy dinner. You can also add noodles, rice, or more veggies to make it even more satisfying.
Here are some ways to use your canning vegetable soup:
- Adding it to a casserole or stew for extra flavor
- Using it as a base for a soup bar with various toppings
- Pairing it with a salad or sandwich for a light lunch
Always check the expiration date and the seal before you eat your vegetable soup canning creations. For optimal taste and texture, it’s recommended to use it within a year.
By using these tips, you can enjoy your canning vegetable soup all year. You’ll get the most out of your vegetable soup canning efforts.
Conclusion
Canning your own vegetable beef soup recipe for canning is incredibly rewarding. It saves you money while allowing you to enjoy homemade soup all year long. Always follow safe canning practices and use the right equipment to ensure your soup recipes are preserved safely and taste great.
With the right skills and knowledge, you can create delicious, long-lasting vegetable beef soup, perfect for sharing with family and friends. If you’re a fan of beef-based dishes, the Thai Beef Jerky Recipe is a great way to enjoy beef in a flavorful, homemade style. Alternatively, if you’re looking for a hearty, nutritious meal, you might also enjoy the Beef and Cauliflower Recipe—a perfect complement to your soup-making skills.
Why not start your canning adventure today? Enjoy making and sharing your own homemade soup whenever you want, and explore more ways to incorporate beef into your meals!
FAQ
What are the benefits of canning your own vegetable beef soup?
Canning your own vegetable beef soup saves money. It lets you enjoy homemade soup all year. Plus, you control what goes into it, including how much salt.
What are the key tools required for home canning?
You’ll need a pressure canner, canning jars, and a canning funnel. The right tools are key for safe and successful canning.
What ingredients are needed for a classic vegetable beef soup recipe for canning?
You’ll need meat and broth, fresh veggies, and spices. These ingredients make a delicious soup.
How do I prepare my canning space and ensure safety measures?
Clean and sanitize your gear. Make sure your space is safe and comfy for canning.
What is the step-by-step method for preparing the soup?
Start by preparing the beef and broth. Then, cut the veggies right. Finally, mix everything together carefully.
What are the pressure canning requirements for this recipe?
Set the right pressure for your altitude. Follow the processing times and check for safety.
How do I properly store the canned soup?
Store the soup in a cool, dry place. Know how long it stays good.
What are some common canning issues I should be aware of?
Watch out for seal failures and know how to fix them. Also, look for signs of spoilage.
How can I use the canned vegetable beef soup?
Use it in recipes or as a standalone meal. But, eat it within a year for the best taste and texture.

Vegetable Beef Soup Recipe for Canning
Ingredients
- 1 pound beef bones
- 4 cups beef broth
- 1 cup diced beef
- 2 medium carrots chopped
- 2 medium potatoes chopped
- 1 large onion chopped
- 2 stalks celery chopped
- 1 teaspoon salt
- 1/2 teaspoon black pepper
- 1/4 teaspoon dried thyme
- 1/4 teaspoon dried rosemary
Instructions
Prepare the Beef and Broth Base
- Begin by browning the beef in a large pot. Afterward, add the beef broth and bring the mixture to a boil.

Cut the Vegetables
- Chop the carrots, potatoes, onion, and celery into evenly sized pieces for consistent cooking.
Combine Ingredients
- Add the chopped vegetables to the pot with the beef and broth, then bring it to a boil again. Lower the heat and let it simmer until the vegetables are tender.
Canning the Soup
- Fill sterilized canning jars with the hot soup, leaving about 1 inch of headspace. Remove any air bubbles and seal the jars with lids and rings.
Pressure Canning
- Process the jars in a pressure canner according to your altitude settings (see pressure settings by altitude). This will sterilize and seal the jars.

Cool and Check Seals
- Let the jars cool down and check that they are sealed by pressing on the lid. If it doesn’t move, the jar has sealed properly.
Storage
- Store the sealed jars in a cool, dark place, away from direct sunlight and heat sources. Ensure the jars remain in a dry environment to maintain quality.